Welcome to my blog where I will be sharing some expert tips on creating perfect round rangoli designs for Diwali. Rangoli is a traditional Indian art form that involves creating beautiful patterns and designs on the floor using vibrant colours.
Whether you are a beginner or an experienced artist, these tips will help you create stunning round rangoli designs that will add a festive touch to your celebrations.

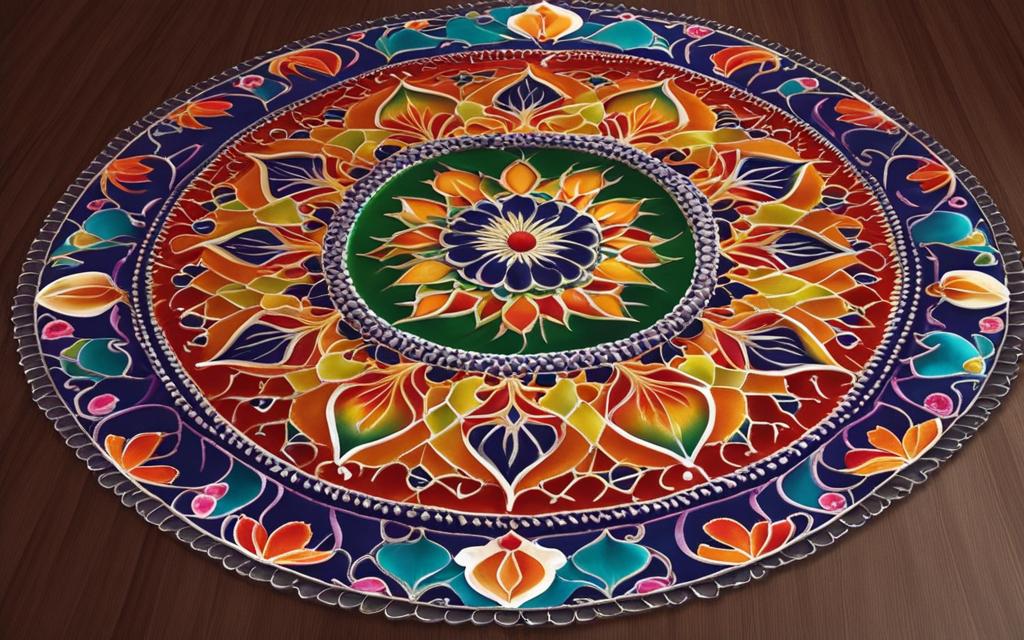
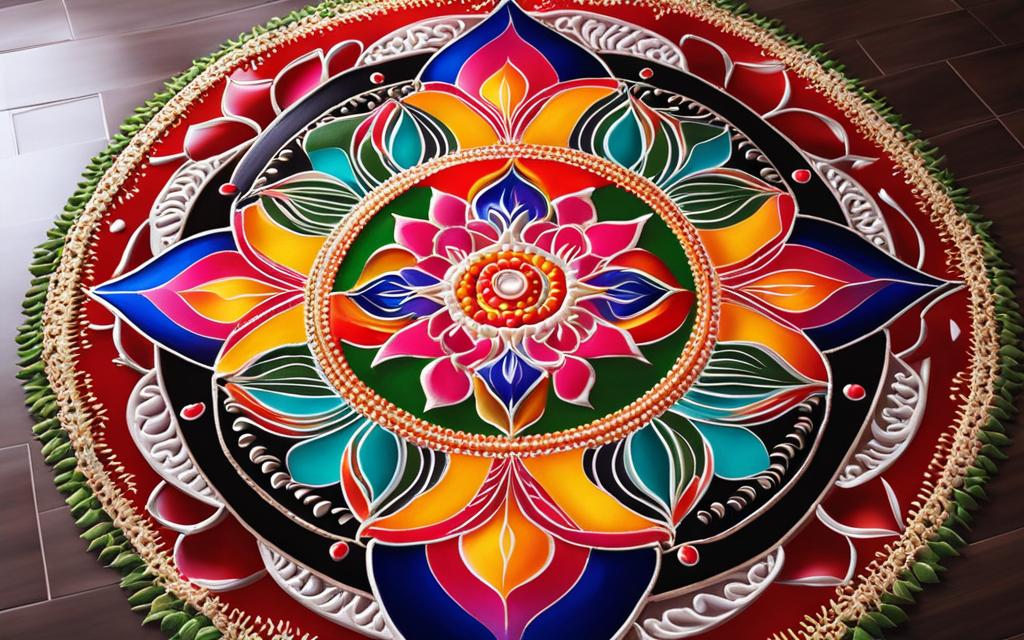
When it comes to round rangoli designs, there are endless possibilities. You can draw inspiration from nature, such as flowers or animals, or you can create your own geometric patterns.
Some popular choices for round rangoli designs include lotus flowers, fish, snakes, tridents, and peacocks. To make the process easier, you can use ready-made stencils or create your own. Stencils offer a variety of designs and are simple to use.
Choosing the right location for your rangoli is essential. Consider whether you want to create it indoors or outdoors, on a flat surface or on paper.
The size of your design will also determine where you should draw your rangoli. If you are just starting out, I recommend creating your rangoli on black paper as it provides more room for error.
Before you begin drawing your rangoli, it is advisable to sketch the design outline on paper. Practice using a pencil and eraser until you are satisfied with the design. For black paper rangoli, you can practice directly on the paper.
When sketching the design on the floor, use a thin, light chalk to lightly outline the design. Mistakes can be easily erased and corrected.
To make your rangoli more visually appealing, you can thicken the outline of your design with white chalk. This helps define the borders of the design. Adding texture and dimension is also important.
You can create an adhesive surface by adding a small amount of cooking oil to your design. For texture, use white, textured materials like semolina or white rangoli powder.
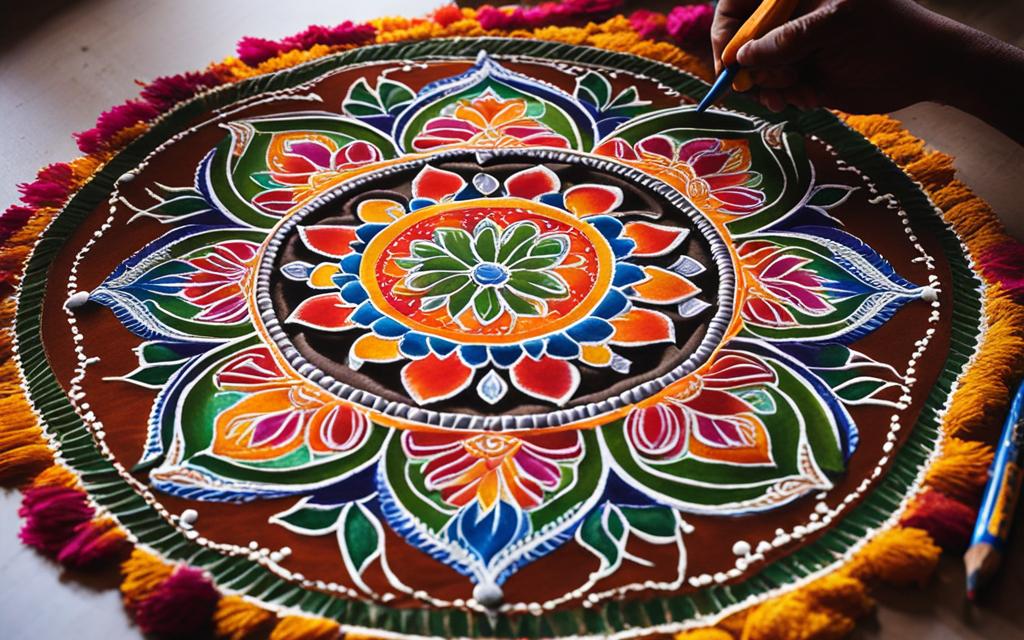
Now it’s time to fill in your rangoli design. Use a paper cone or your fingers to completely fill the design with your chosen materials.
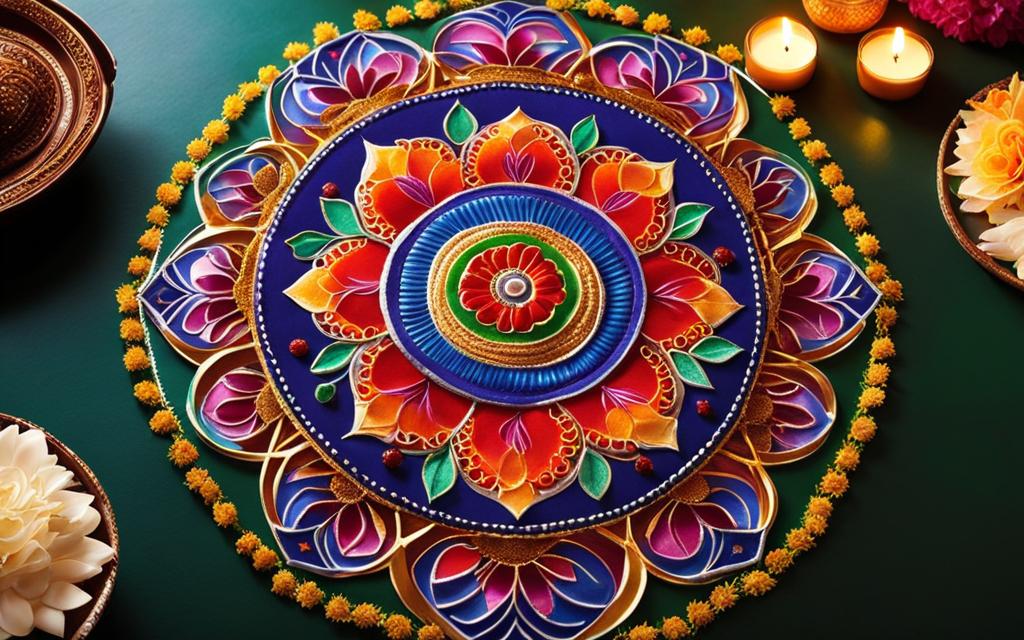
Mix and match different textures and colours to enhance the overall look. To add a final touch, you can place candles and clay pot-lanterns around your finished rangoli to illuminate the design.
You can also write wishes with chalk to make your rangoli extra special.
Creating round rangoli designs for Diwali is a wonderful way to celebrate the festival and bring joy to your home.
By following these expert tips, you can create perfect round rangoli designs that will impress your family and friends.
So, unleash your inner artist and start creating beautiful rangoli designs to brighten up your home this Diwali.
Table of Contents
- 1 Choosing the Right Location for Your Rangoli
- 2 Sketching and Outlining Your Rangoli Design
- 3 Adding Detail and Texture to Your Rangoli
- 4 Filling In Your Rangoli Design
- 5 Conclusion
- 6 FAQ
- 6.1 Can I create round rangoli designs on paper?
- 6.2 What materials can I use to fill in my rangoli design?
- 6.3 How can I thicken the outline of my rangoli design?
- 6.4 How can I make my rangoli design more textured?
- 6.5 How can I make my rangoli design stick to the floor?
- 6.6 What can I add to my finished rangoli to enhance its appearance?
- 6.7 Can I write messages on my rangoli design?
- 7 Source Links
Choosing the Right Location for Your Rangoli
When creating a round Rangoli design, one of the first decisions to make is where to draw it. The location can significantly impact the final look and feel of your design.
Here are some factors to consider when choosing the right location:
- The Surface: Decide whether you want to create your Rangoli on a flat, dry floor indoors or outdoors, or if you prefer to make it on paper to display anywhere you like.
- The Size: Consider the size of your design. If you plan to create a large round Rangoli, you may need a spacious outdoor area or a big piece of paper. For beginners, starting with a smaller size is recommended to get a hang of the process.
- The Material: Think about the material you’ll be using for your Rangoli. If you’re using coloured powders, it’s best to create it outdoors on a surface that can be easily cleaned. On the other hand, if you’re using a paper-based approach, you can create it anywhere indoors.
By carefully considering these factors, you can choose the perfect location that suits your preferences and ensures a beautiful end result.
Creating a Round Rangoli Indoors
If you decide to create your round Rangoli design indoors, there are a few additional considerations. Here are some tips for creating a beautiful Rangoli indoors:
- Choose a clean and dry surface for your Rangoli, such as a marble or wooden floor.
- Ensure the area is well-lit to enhance the visibility of your design.
- Protect the floor by placing a sheet of newspaper or plastic underneath the Rangoli to catch any loose materials.
With these tips in mind, you can confidently create a stunning round Rangoli design inside your home.
Sketching and Outlining Your Rangoli Design
When it comes to creating round rangoli designs, sketching and outlining is an essential step. It helps you plan your design and ensures that the final result is as you envision it.
Here are some tips to help you sketch and outline your rangoli design:
Gather Inspiration:
- Before you begin sketching, gather inspiration from different sources such as books, websites, or traditional rangoli designs. This will help you get a better idea of the shapes and patterns you can incorporate into your design.
- Take note of the elements you find most appealing and incorporate them into your sketch.
Start with Basic Shapes:
- When sketching your rangoli design, it’s best to start with basic shapes such as circles, squares, or triangles. These shapes will serve as the foundation for your design.
- Use a pencil and eraser to experiment with different arrangements of these shapes until you find a composition that you’re happy with.
Refine Your Design:
- Once you have the basic shapes in place, start adding more intricate details to your sketch. These details can include flower petals, leaves, or geometric patterns.
- Remember to take your time and make any necessary adjustments until you’re satisfied with the overall look of your design.
Sketching and outlining your rangoli design allows you to visualize the final product and make any necessary adjustments before you start filling it in.
It’s a crucial step that sets the foundation for creating a beautiful round rangoli design.

Now that you have sketched and outlined your rangoli design, it’s time to move on to the next step: adding detail and texture. This will help bring your design to life and make it visually appealing.
Adding Detail and Texture to Your Rangoli
Now that you have sketched and outlined your round Rangoli design, it’s time to add some intricate details and texture to make it truly stand out.
These steps will help elevate your Rangoli from a simple outline to a stunning work of art.
Thickening the Outline
To give your Rangoli a defined border and make it visually appealing, you can thicken the outline of your design using white chalk. Carefully trace over the initial outline with the chalk, making it slightly broader.
This technique will enhance the overall look of your Rangoli, making it more noticeable and attractive.
Creating Texture
To add dimension and texture to your round Rangoli design, you can use various materials and techniques.
One popular method is to mix a small amount of cooking oil with your chosen textured materials to create an adhesive surface. This will help the materials stick to the Rangoli more effectively.
You can experiment with different textured materials such as semolina or white Rangoli powder. Sprinkle these materials along the outline of your design to create a visually appealing and unique texture.
Additionally, you can incorporate other materials like spices, grains, or even store-bought coloured Rangoli powder to fill in the different sections of your Rangoli.
Final Touches
Once you have added the desired texture and filled in your round Rangoli design, it’s time to put the finishing touches.
Place colourful candles and clay pot-lanterns around your completed Rangoli to illuminate the design and create a mesmerizing effect.
You can also use white chalk to write in wishes or positive messages within your Rangoli, adding a personal touch and making it extra special.

Filling In Your Rangoli Design
Now that you have sketched and outlined your round Rangoli design, it’s time to bring it to life by filling it in with vibrant colours and textures.
This step will transform your design from a simple outline into a visually stunning artwork that will impress everyone who sees it.
To fill in your Rangoli, gather the materials you have chosen, such as coloured powders, spices, grains, or other textured materials.
Use a paper cone or your fingers to carefully place the materials within the boundaries of your design. This process requires patience and precision to ensure that each element is placed correctly, enhancing the beauty of your Rangoli.
As you fill in your Rangoli, feel free to mix and match different colours and textures to add depth and visual interest.
Experiment with various combinations to create a harmonious and eye-catching composition. The contrasting colours and textures will make your Rangoli stand out and captivate the attention of anyone who sees it.
- Use a paper cone or your fingers to fill in the design with chosen materials
- Mix and match different colours and textures for visual interest
- Create contrasting combinations to make your Rangoli stand out
Once you have filled in your Rangoli, don’t forget to add the finishing touches. Place small candles and clay pot-lanterns strategically around the design, illuminating the intricate patterns and adding a warm and inviting ambiance to your space.
You can also use chalk to write in a few heartfelt wishes or messages, making your Rangoli even more meaningful and special.

With the final touches complete, step back and admire your beautiful creation. Your round Rangoli design is now ready to grace your home and bring joy and positivity during festivals and celebrations.
The vibrant colours, intricate patterns, and thoughtful details will undoubtedly leave a lasting impression on all who encounter it.
Conclusion
Rangoli designs are a beautiful way to celebrate festivals and bring joy to your home. Whether you choose a simple or intricate design, the symmetrical patterns and vibrant colours of
Rangoli can add a festive touch to any occasion. By following these expert tips, you can create perfect round Rangoli designs that are sure to impress your family and friends.
So unleash your inner artist and start creating beautiful Rangoli designs to brighten up your home in India.
>> You may also like to read:
FAQ
Can I create round rangoli designs on paper?
Yes, you can create round rangoli designs on paper to display anywhere you like.
What materials can I use to fill in my rangoli design?
You can use a variety of materials such as spices, grains, semolina, or store-bought pre-coloured rangoli powder to fill in your design.
How can I thicken the outline of my rangoli design?
You can thicken the outline of your design using white chalk to define the borders.
How can I make my rangoli design more textured?
You can add texture to your outline by using white, textured materials like semolina or white rangoli powder.
How can I make my rangoli design stick to the floor?
You can create an adhesive surface by adding a small amount of cooking oil to your design, which will help the textured materials stick.
What can I add to my finished rangoli to enhance its appearance?
You can add candles and clay pot-lanterns around your finished rangoli to light up the design and create a festive atmosphere.
Can I write messages on my rangoli design?
Yes, you can use chalk to write in a few wishes and make your rangoli extra special.
