Creating rangoli designs on paper is an enjoyable way to brainstorm patterns and try out ideas before making your final artwork. With some basic sketching supplies and simple techniques, drawing rangoli on paper is easy for artists of all skill levels.
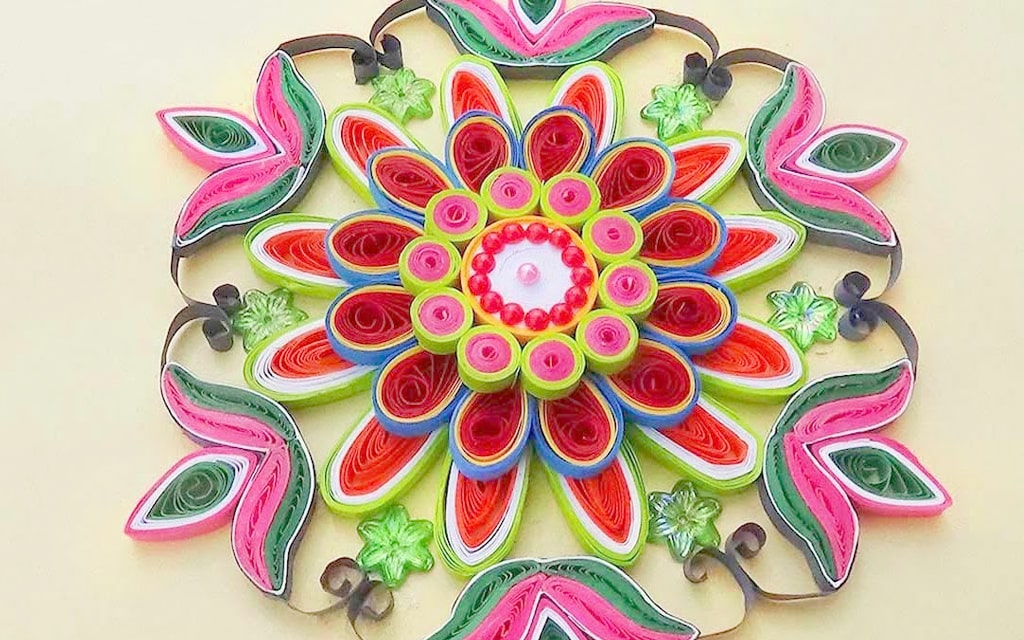
Table of Contents
How To Draw Rangoli Design On Paper – Quick Steps at a Glance
- Decide on a style and main motifs
- Use rulers for clean lines
- Build up detail work gradually
- colour small sections systematically
- Erase mistakes gently to avoid tearing
Now put your imagination on paper and draw striking rangoli concepts to try out.
Pick Your Rangoli Style
Rangoli art encompasses many styles and motifs. First decide whether you want to draw geometric shapes, nature motifs, spiritual symbols, or a hybrid design. Having a direction in mind will guide what patterns you sketch.
Gather Drawing Tools
To draw rangolis, you’ll need –
- Pencil and eraser – Allow for trial and error
- Rulers and templates – Create straight lines and perfect shapes
- coloured pens/pencils – Shade in your final design
Use blank printer paper, construction paper, or a sketchbook. Place a drawing board or notebook underneath for an even, sturdy surface.
Start With an Outline
Lightly pencil the outlines of your main rangoli shapes and motifs. Use rulers or stencils to help with proportions. Don’t press too hard initially in case you need to erase and tweak.
Add Intricate Details
Refine shapes by drawing over the guidelines more darkly. Split them into sections to add small knots, petals, or other ornamental features. Look at reference photos for inspiration on patterns.
Finalize Your Design
Choose what elements to colour and use vivid pens or pencils to bring your rangoli artwork alive. For symmetry, first focus on colouring one quadrant before repeating in other sections.
Fix Any Mistakes
Gently erase any wayward marks or smudges using a clean eraser and by pressing lightly. Soften any scored lines by brushing the paper’s surface with your palm.
Conclusion – How To Draw Rangoli Design On Paper
Drawing rangoli patterns on paper lets you customize and perfect your motif ideas before recreating them at full scale. Doodle various templates when brainstorming to spark creativity for your next rangoli project. Use the coloured sketches to guide your rangoli-making process.
>> You may also like to read my other interesting posts below:
FAQ – How To Draw Rangoli Design On Paper
Q: What type of paper is best for drawing rangoli designs?
A: Blank printer paper, construction paper, and sketchbook paper all work well. Choose a heavier paper that can handle erasing without tearing. Avoid lined paper.
Q: Should I use a pencil or pen when drawing my design?
A: Start by sketching lightly with a pencil. This allows flexibility to modify elements and make corrections as needed. Use coloured pens or markers to shade once finalized.
Q: How do I draw straight lines and accurate shapes?
A: Take advantage of rulers, square edges, compasses, stencils, and tracing paper for clean lines and symmetry. Allow shapes to slightly overlap.
Q: What references help in drawing rangoli motifs?
A: Search images online of traditional rangoli styles to get pattern ideas. Study geometric principles. Look at nature, architecture or textile designs for inspiration.
Q: How detailed should I make a paper rangoli sketch?
A: Add as much intricacy as you desire and have patience. More complex designs take more time but allow you to showcase creativity. Start simpler.
Q: Can I turn my paper design into a real rangoli?
A: Yes. Use your finished coloured sketch as a guide when recreating the pattern with actual rangoli materials. Add improvisations too.