Rangolis are usually intricate and elaborately coloured decorations often created during Diwali. But it is also enjoyable to adopt a meditative, minimalist approach through repetitively placed dots forming visually calming designs. Requiring little tools or expertise, these almost therapeutic dot rangolis are my favorite.
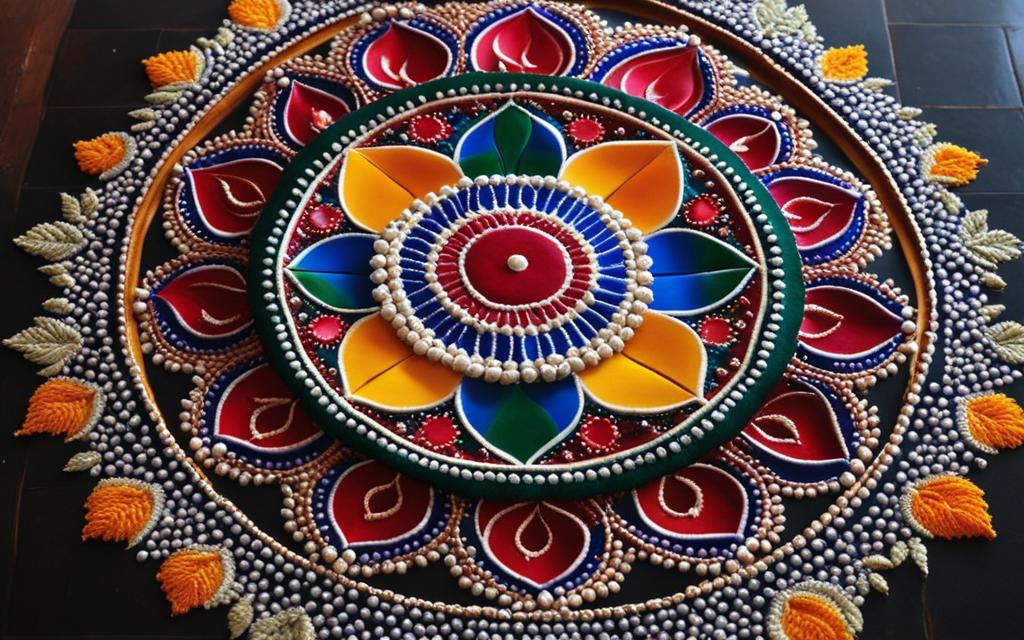
Table of Contents
How To Make Simple Rangoli Designs With Dots – Quick Snap
- Define the rangoli shape area with chalk first
- Use 1-3 striking powder colour combinations
- Lemon rinds, textured balls, or funnels make good dot tools
- Relax into mindful, evenly-spaced dotted application without self-judgment
- Allow organic designs and spontaneous patterns to develop through the dots
Selecting Your Rangoli Area
Identify a flat, preferably light-coloured section of your floor or entrance space to begin dotting upon. Using chalk, define the rough width and length for your design. This gives a directional guide on dot distribution. Place a stencil or plate if you desire a specific outline shape to dot within.
Choosing Your colours
Limit yourself between 1 to 3 highly contrasting powder colours to maintain the minimalism. You can colour code dots in alternation or randomly as you, please. White powders with standalone yellows, reds, and blacks work very well.
Have your rangoli tools handy too – a half-cut lemon or roughly textured ball make easy dot applicators. Paper funnels can also be used.
Relaxing into the Dotting Process
Now comes the almost meditative phase of repetitive powder application. Maintain approximate dot size consistency.
Dot density can be sparse or clustered into uneven groups. Periodically step away to check overall design formation, sprinkling dots to bridge any excessive gaps. Avoid over-analyzing – allow freeform patterns to emerge.
Conclusion – How To Make Simple Rangoli Designs With Dots
While elaborate rangolis have their appeal, the simplicity of rhythmic dotting helps slow down the pace during hectic festivities to experience an unforced creative process instead. More minimal designs can be just as meaningful in the festive lead-up this Diwali.
>> Also read my other interesting posts:
FAQ – How To Make Simple Rangoli Designs With Dots
Q: How big in diameter should my circular dots be?
A: For scale contrast, make some dots small (~1/2 inch) and others slightly larger (~1 inch). Dot consistency matters more than exact sizes.
Q: What common dot tools can I use apart from lemon rinds?
A: Other household items like golf balls, large rubber eraser ends, scrunched-up foil, and soft sponges also make easy dot stamp applicators.
Q: Is it alright if my dots appear messy or smudged?
A: Yes, perfectly alright. The simplicity of dot designs allows for organic imperfections. Just fill any larger smudges later with fresh small dots to maintain flow.
Q: How much open space should I leave between dots?
A: Depending on your desired density, leave gaps approximating 1-2 times the dot diameters. Periodically step back to check even distribution.
Q: Can I do touch-ups if my design fades over days?
A: Since single dots are easy to recreate and fill, you can easily infill faded areas and revive your design multiple times post-creation.
Q: What types of dot patterns can I experiment with?
A: From grids, waves, circles, and diamonds to fully abstract modern art styles – let your creativity guide you as dots transform into different layouts.
Q: Is there a spiritual aspect to the process as mentioned?
A: Yes, the centering quality of repetitive dot-making elicits almost a meditative state, helping calm the mind during hectic festivities.